
Content
How to Create an Article
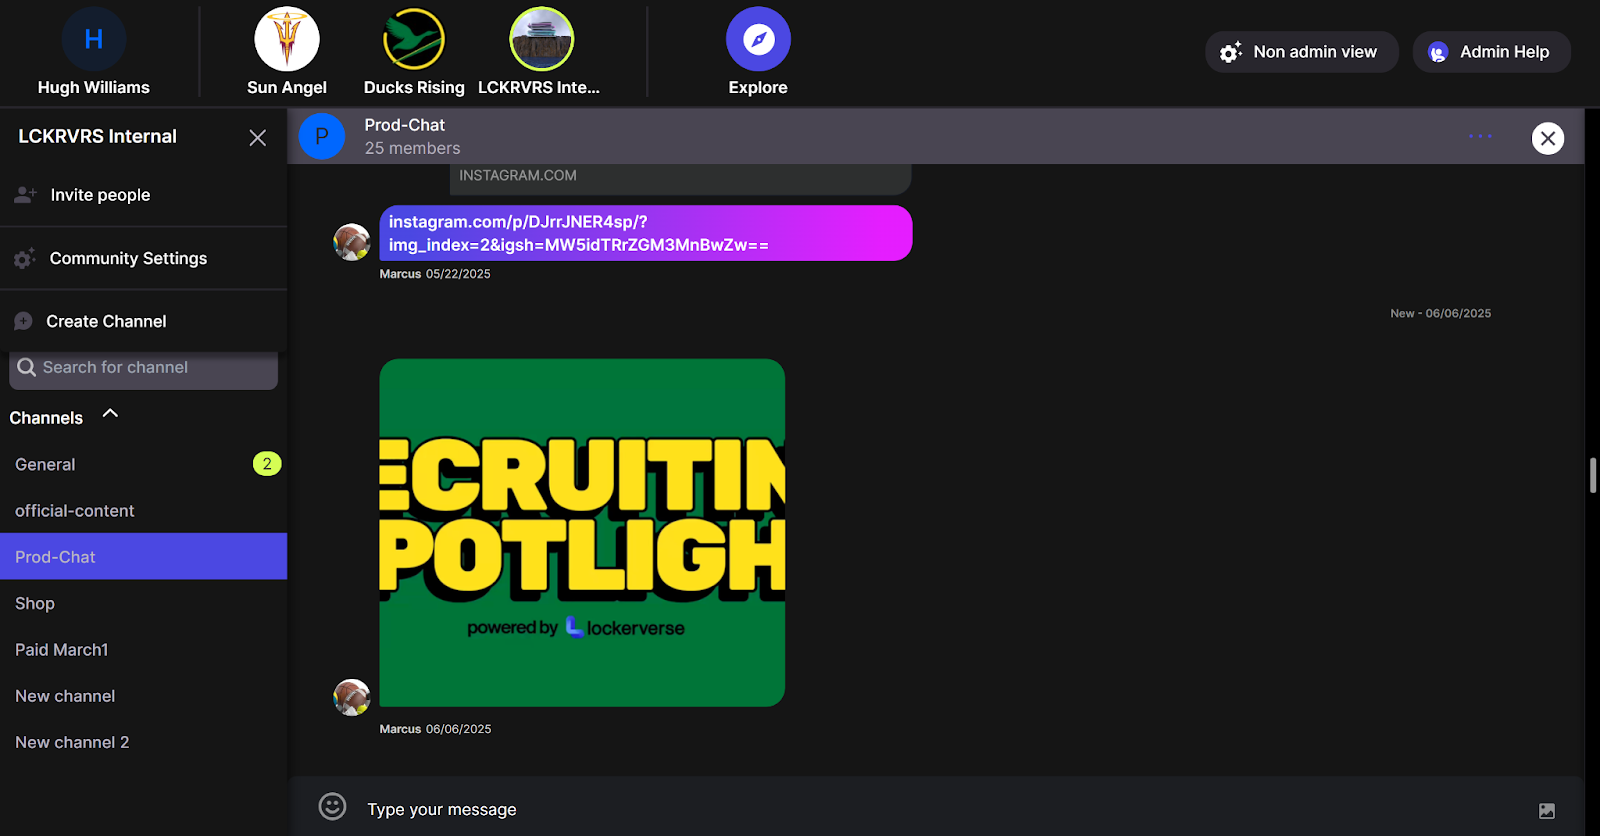
Navigate to your Lockerverse Community Admin View. Click the community name in the top left of your screen to open this menu. Select “Community Settings”.
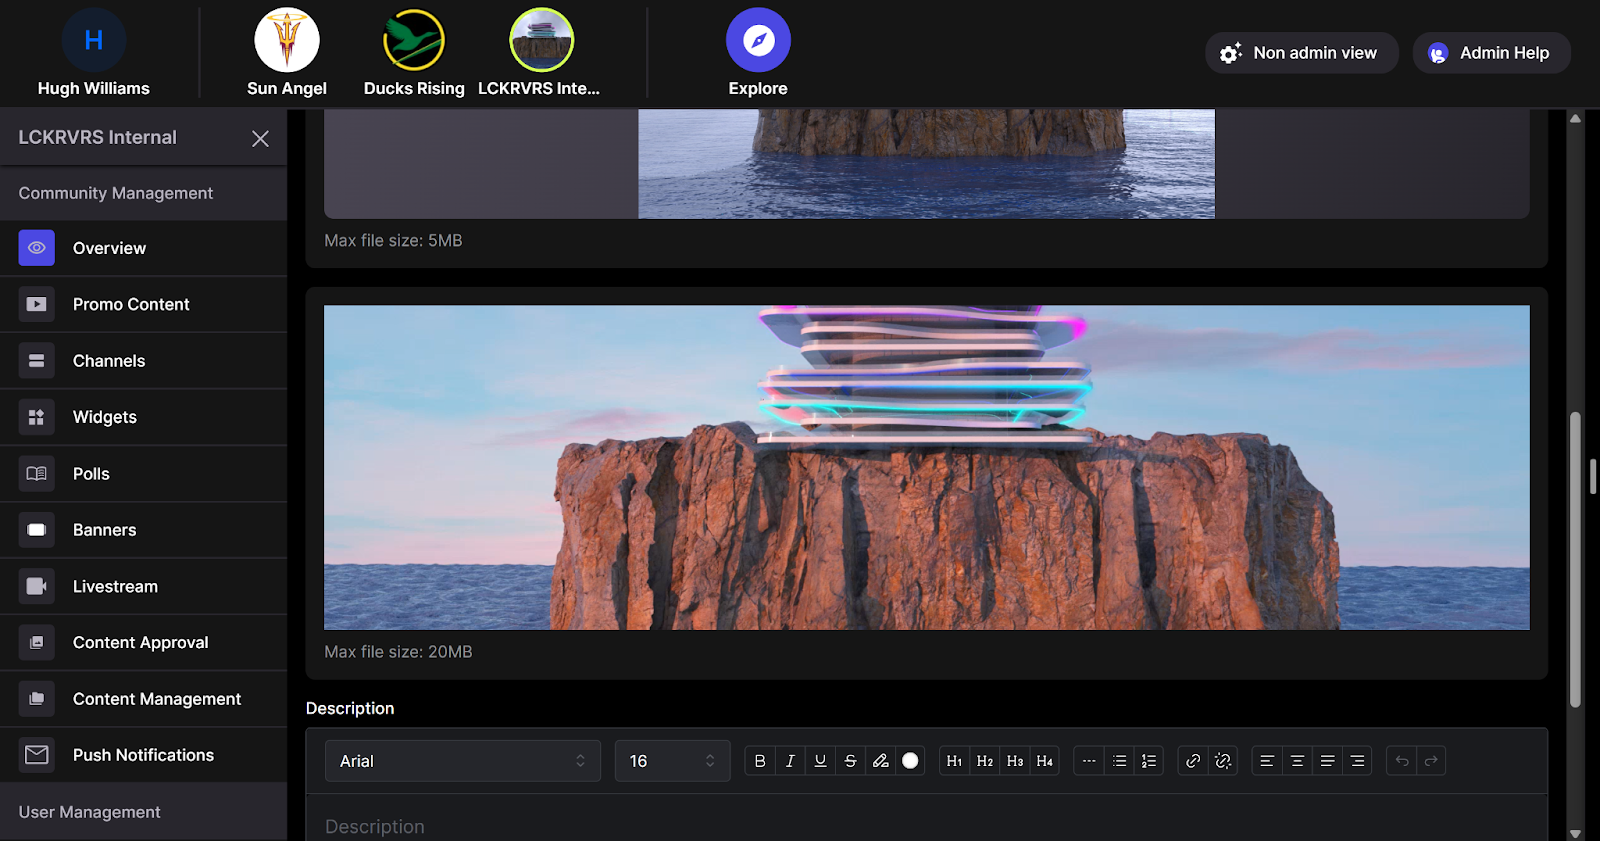
On the left, navigate to the “Content Management” page
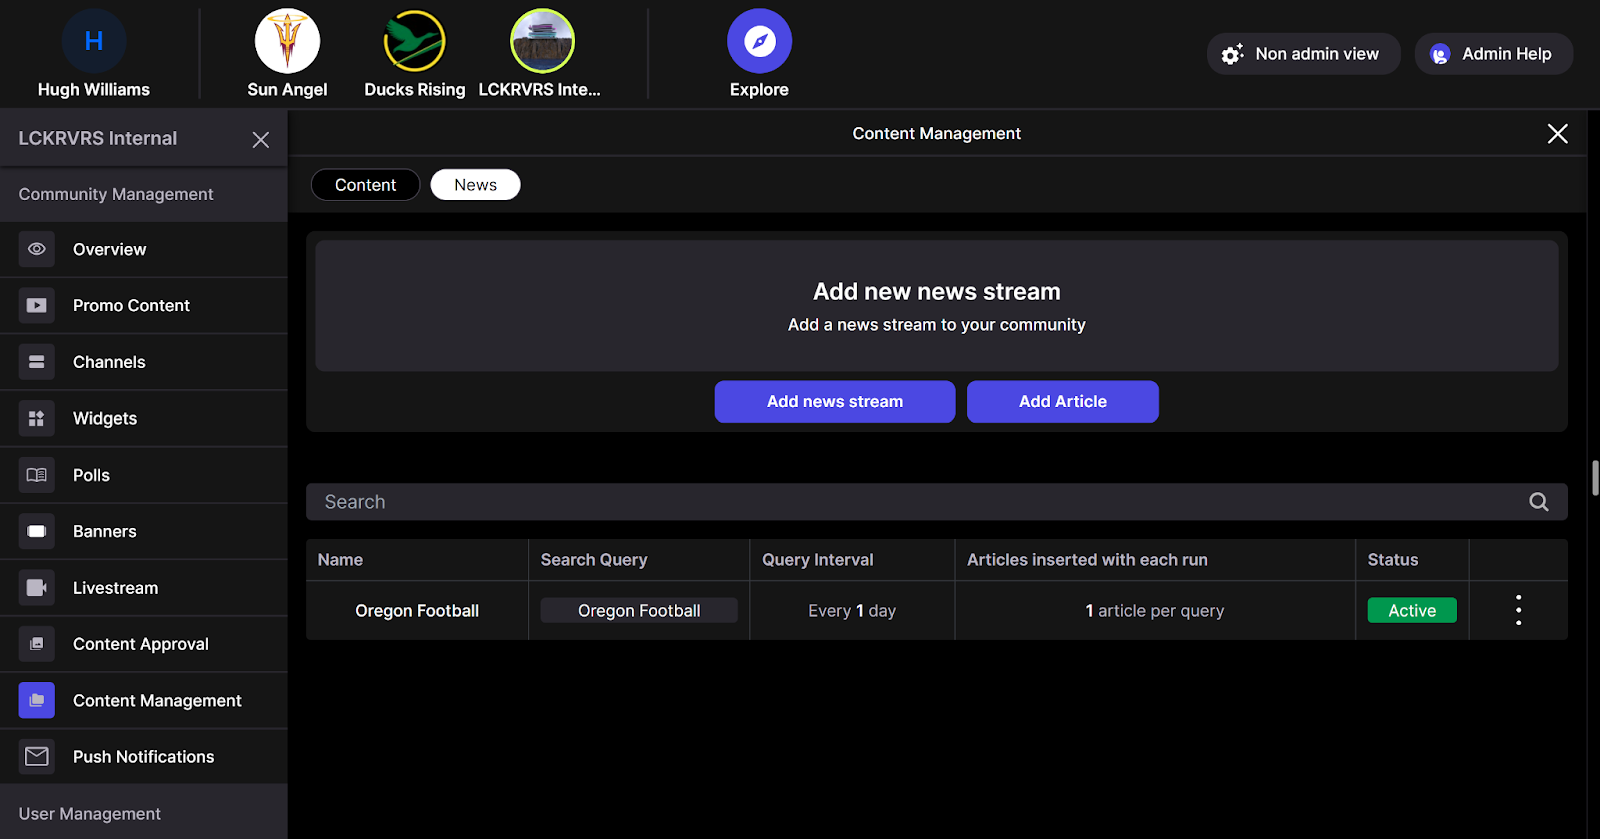
Click the “Add Article” button to begin uploading a new article to your community.
To add an article thumbnail, click the “Please Upload Preview Image” option and upload your desired file.
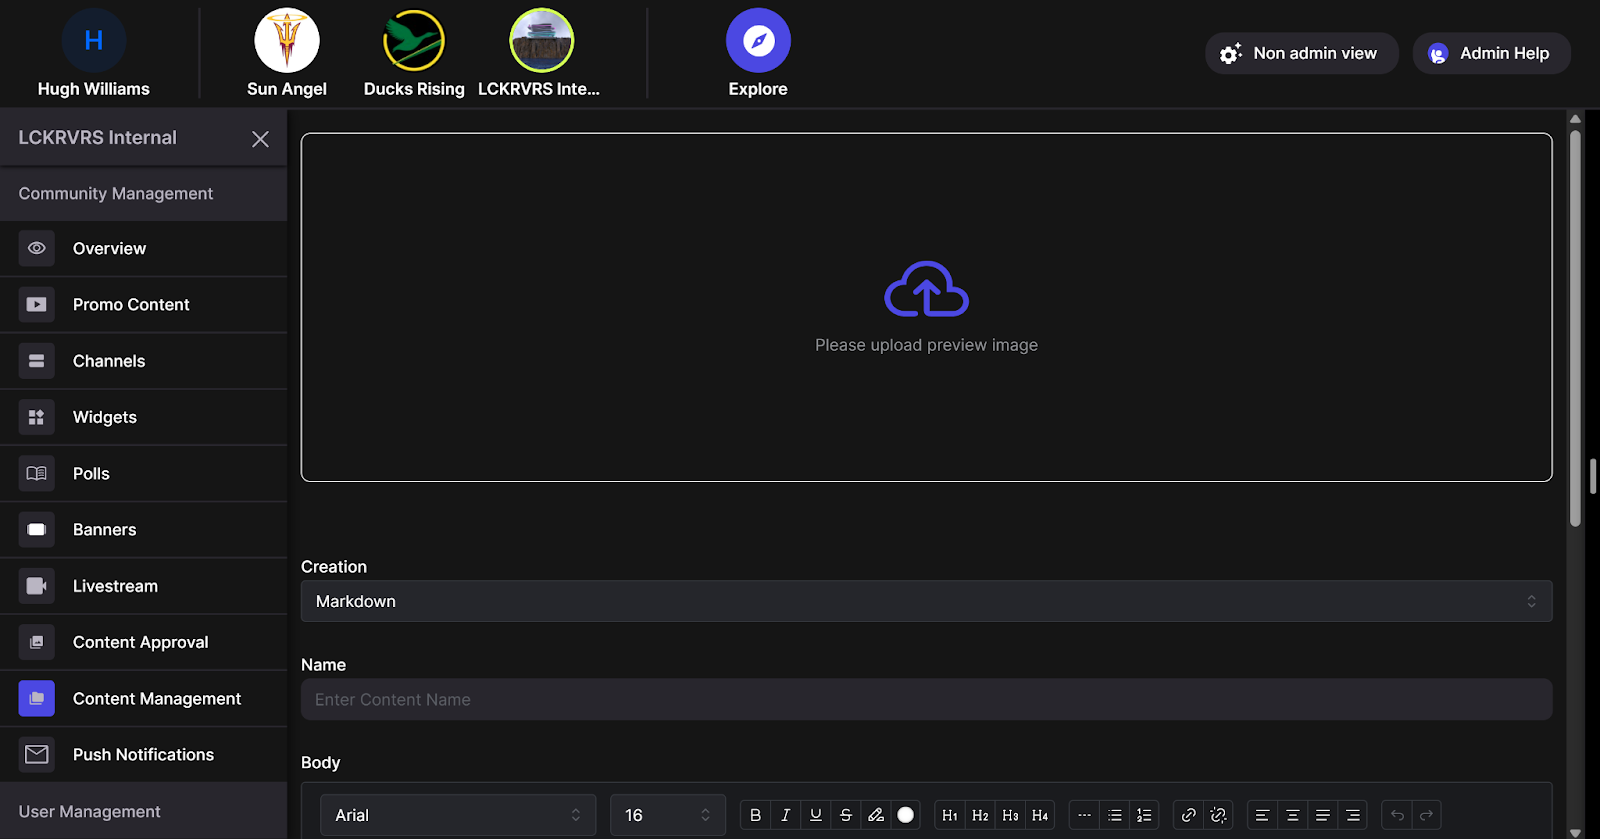
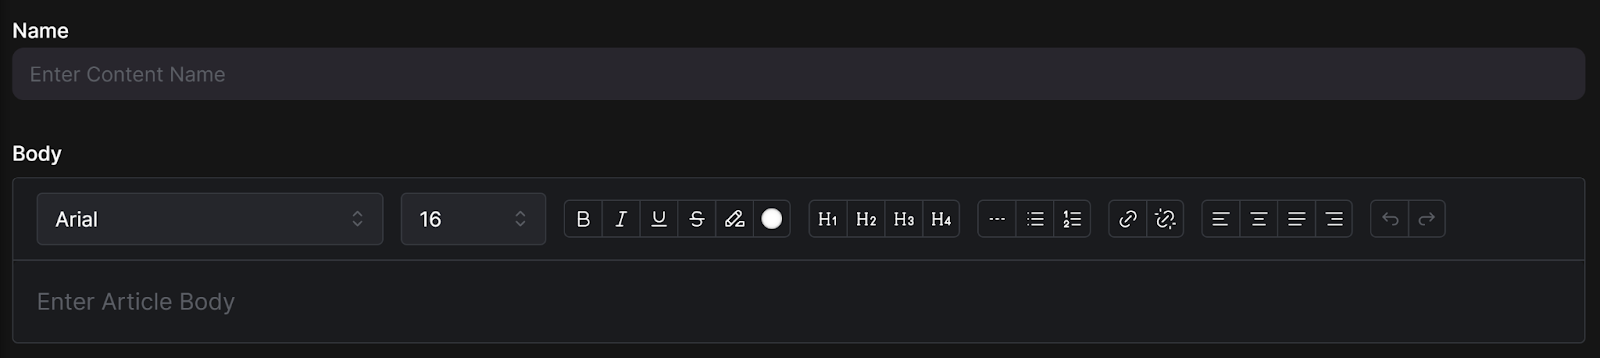
In the “Name” box, enter the name/title of the article. Below that in the “Body” section, type or paste the body of the written article. Options for font, font size, headers and alignment are all available.
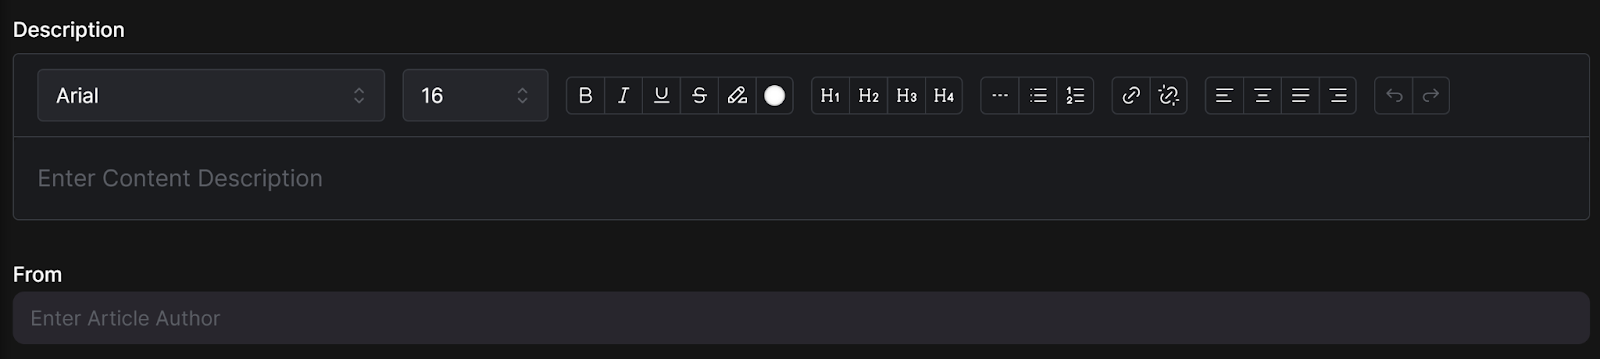
In the “Description” box, add a description of the article. The same tools from the “Body” section are available here. In the “From” box, enter the article's author credits.
In the “Tiers” section, click the dropdown menu and choose all subscription levels that you want to give access to.

Lastly, click the save button to make the article public.